Appearance
Getting Started
Welcome to EmberBoard! This guide will help you create your first storyboard project.
What is EmberBoard?
EmberBoard is a node-based storyboard development tool that lets you visually organize story beats with images, scripts, and timing information. Each beat represents a moment in your story, and you can arrange them on a timeline to plan your visual narrative.
Key Features:
- Node-based editing - Arrange story beats visually
- Fast workflow - Create storyboards quickly
- Timeline playback - Preview with images and script
- Multi-format export - Works with your existing tools
Your First Project
Step 1: Create Your First Beat
- Double-click anywhere in the Node View (center area)
- A new beat node appears with:
- Title field (editable)
- Image area (drag & drop or browse)
- Script preview
- Duration display
Step 2: Add an Image
You can add images in three ways:
Method 1: Drag and Drop (Easiest)
- Drag an image file from your computer
- Drop it directly onto a beat node
Method 2: Browse Button
- Select a beat
- In the Properties Panel (right side), click Browse
- Choose an image file
Method 3: Paste from Clipboard
- Copy an image (Ctrl+C)
- Select a beat
- Paste with Ctrl+V
Supported formats: PNG, JPG, JPEG, GIF, WebP
Tip: Keep images under 5MB for best performance
Step 3: Write Your Script
- Click on a beat to select it
- In the Properties Panel (right side), find the script editor
- Write your script using plain text or Fountain syntax
- Add a scene heading if needed (INT. LOCATION - DAY)
Step 4: Set Duration
Each beat has a duration in frames:
- Default frame rate: 24 FPS (changeable in Settings)
- Duration format:
seconds:frames(e.g.,00:24= 1 second) - Use + / - buttons to adjust
- Or type the duration directly
Step 5: Play Your Storyboard
Press Spacebar to play your timeline and see it all come together!
Playback controls:
- Spacebar - Play/Pause
- Home - Jump to start
- End - Jump to end
- ← → - Navigate frame by frame (when paused)
The EmberBoard Interface
EmberBoard has six main areas:
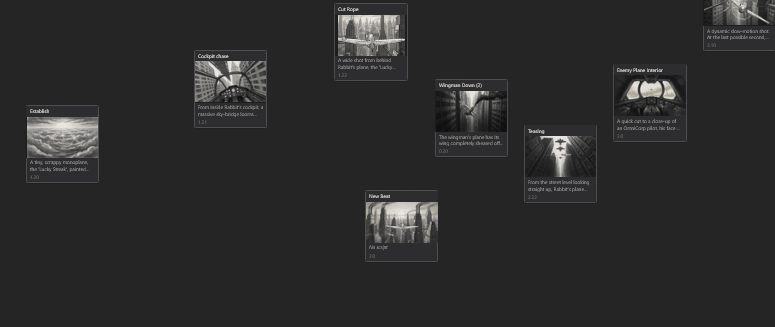
1. Node View (Center)
- Visual canvas for arranging beats
- Double-click to create beats
- Drag to reorder horizontally
- Scroll wheel + Ctrl to zoom
- Middle mouse to pan
2. Beat Shelf (Mid Strip)
- Stores beats not in the timeline
- Double-click a beat to move it to shelf
- Double-click a shelf item to restore it
- Great for alternate versions!
3. Timeline (Bottom)
- Shows all beats in sequence
- Blue = Selected beat
- Green = Current beat (playhead position)
- Click anywhere to jump to that time
4. Properties Panel (Right)
- Edit selected beat properties
- Title, scene heading, script
- Duration controls
- Image management
- Node color customization
5. Output Window (Top Left)
- Shows current beat's image
- Scroll wheel to zoom (1x to 3x)
- Click and drag to pan image
- Reset button when zoomed/repositioned
6. Script Output (Bottom Left)
- Scrolls with timeline
- Editable in the output window
Quick Tips
Creating Multiple Beats Quickly
- Create your first beat
- Hold Alt and drag the beat to duplicate it
- Repeat for as many beats as you need
- Then customize each one
Organizing Your Beats
- Drag left/right to reorder in timeline
- Double-click to move to shelf temporarily
- Color code beats by scene type (Properties Panel)
- Group with comment boxes - Select beats → Press C to create annotation boxes
Never Lose Your Work
EmberBoard has two save systems:
- Auto-save: Saves to your browser every 2 seconds automatically
- Manual save: Download
.emberboardproject files as backups
Next Steps
Now that you know the basics:
Need Help?
Happy storyboarding! 🎬